Sunday, 20 November 2022

Going back to Lego Digital Designer

 For complicated reasons I decided to rebuild my model of The Pantiles in Tunbridge Wells using LDD - it's been a while since I used LDD and I'd forgotten how exacting it was with regards brick placement (which I suppose should only be expected really)


Rendering still leaves a bit to be desired - I did eventually manage to download a copy of BlueRender the java based rendering tool for LDD which allowed me to make this image


and turnaround animation


Wednesday, 5 October 2022

Animating In Blender (Part 4)

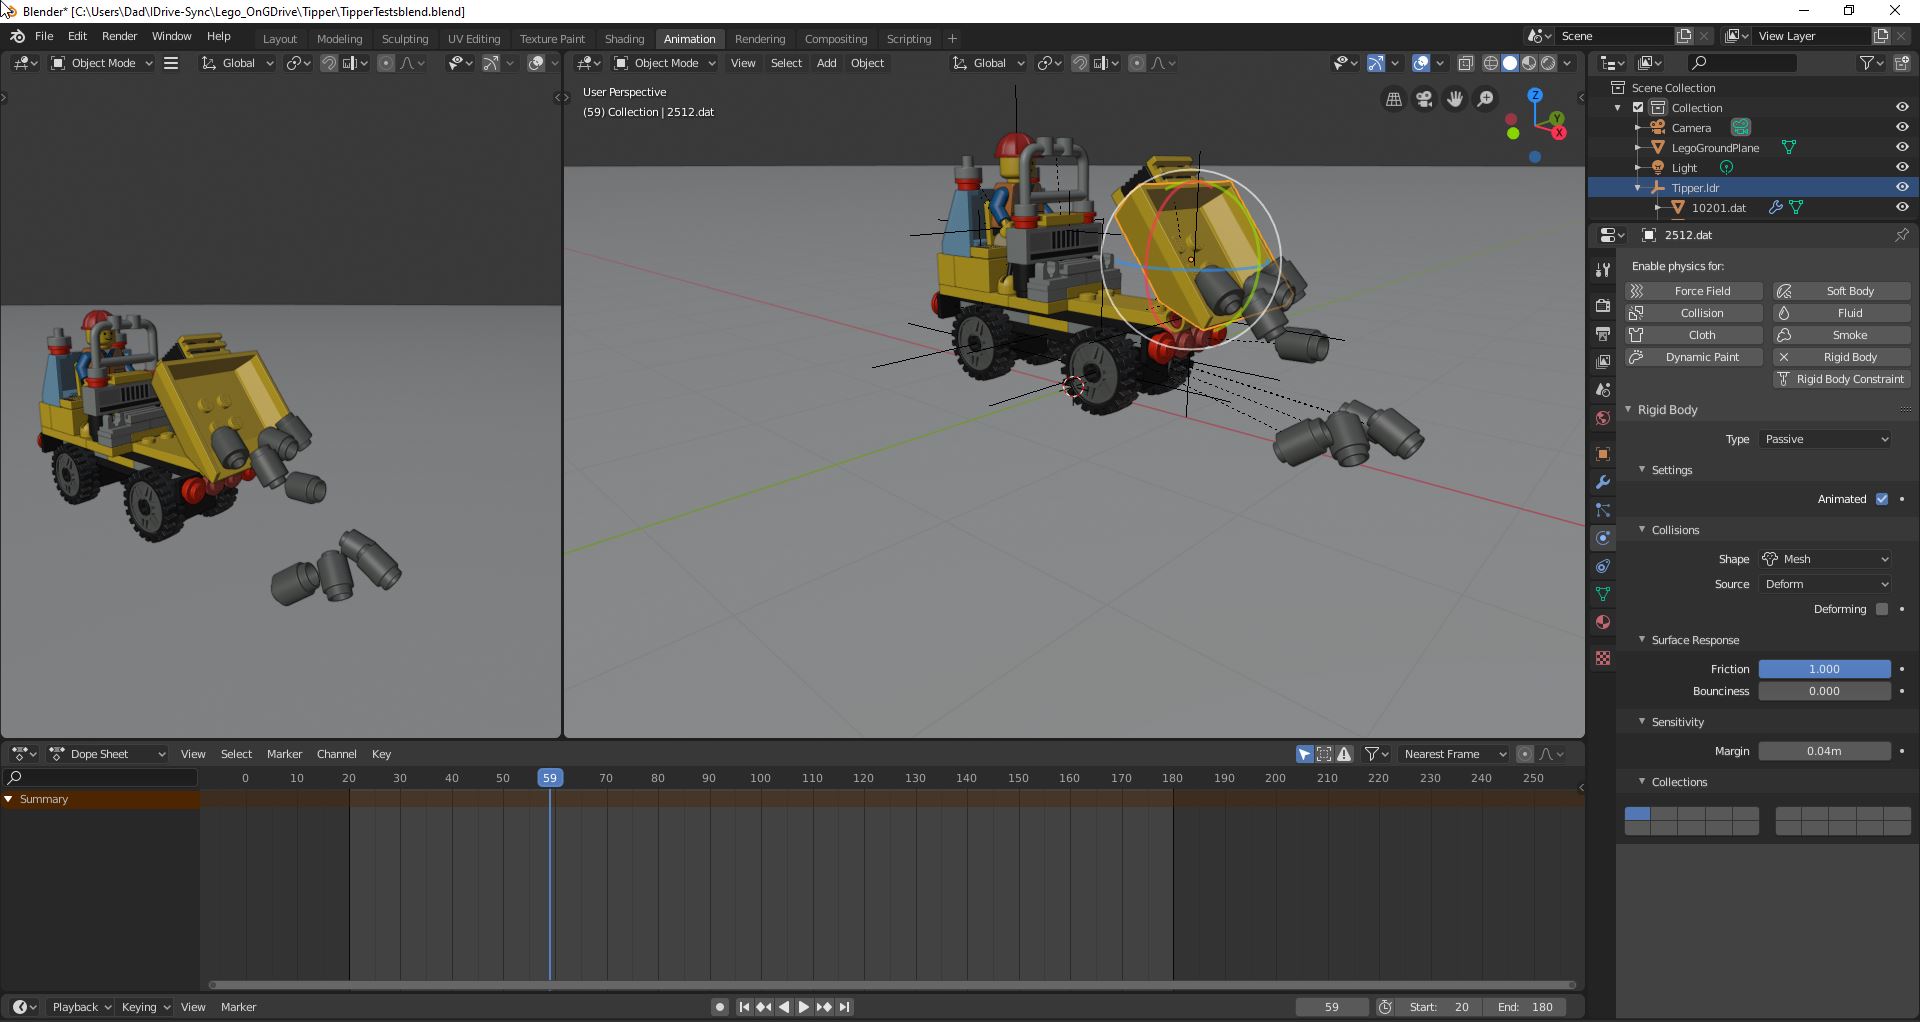
 Finally I added in a brick stack that our little robot friend could knock over (using Blender physics!)


All the sound effects were also added in Blender and sync'd up using the compositing tool


Thursday, 8 September 2022

Animating In Blender (Part 3)

Having spent a bit of time with playing with both Blender physics and drivers, I started to think about combining all the elements into a short sequence.  I wanted to create a character and an animation that combined all the elements I'd been looking at - I designed the initial character in LDCad and then imported it into Blender.


I knew how important the eyes were going to be, so I used three different circular round eye tiles that I planed to animate between  in Blender, to create a blink (there are other tools available for animating minifigure rigs and expressions in Blender including EpicFigRig https://github.com/BlenderBricks/EpicFigRig) - but I wanted to keep it simple!


Saturday, 6 August 2022

Animating In Blender (Part 2)

 As well as being fairly easy to animate vehicle wheels based on the movement of an object I also wanted to look at how it easy it is to use Blender's physics engine


  This animation was created using Blender's rigid body physics - also was a lot easier than I expected


I speed watched a few of YouTube videos before and during the processhttps://www.youtube.com/watch?v=9lDY5YN3SEA
https://www.youtube.com/watch?v=B58P5hnbdNU
https://www.youtube.com/watch?v=lctjzasiy64The whole process took about 8 hours to build/animate and render (and I've never animated anything in Blender previously) - Understanding the basic Blender animation process took about 4-6 hours - getting the physics "right" for Lego took a couple more hours (and it's still not perfect) - rendering another hour.  But it was actually a lot easier than I expected

Sunday, 3 July 2022

Animating In Blender (Part 1)

I found myself with a bit of time last weekend and as I wasn't that happy with the decals that I used in both LDCAD and Studio on my last model, so I thought I would go back to looking at Blender for rendering (as opposed to Studio).  I'm fairly sure I could stick image decals on models in Blender so rather than flog that particular dead horse, I thought I would have a look at some animation in Blender instead and see if I could render something in Blender - I created this little mov - the model was built in LDCAD (but you could use Studio) and imported into Blender using the Blender LDRAW plugin.


 I guess I spent about a day trying to figure out the basic tools and controls for parenting and basic animation - I haven't used a rig here - just basic parentiing.

The only animation here is really the way the wheels turn when you move the model (and the minifig head goes round too!) - and I used this YouTube video to help me to animate the wheels

https://www.youtube.com/watch?v=kD1MoN3wPiM

But all in all it was a lot easier than I expected


Saturday, 4 June 2022

The Chalybeate Spring - The Pantiles (Part 6)

I added The Chalybeate Spring - The Pantiles - Royal Tunbridge Wells to Lego Ideas and it generated some interest in the local papers


I hadn't actually realised that you could no longer place text on images for the Lego Idea website so all my original images (like the one above) were rejected.  However, thankfully Lego Ideas still allow for custom decals on the submitted models.


Saturday, 7 May 2022

The Chalybeate Spring - The Pantiles (Part 5)

Having finally cleaned up all the text on my Chalybeate Spring model - I was ready to apply on the text decals to the models.  One of the problems with using svg2ldraw is that it creates a seperate .dat file which then has to be positioned in front of the relevant brick.  This requires sub brick manipulation and it can be hard to see the actual absolute placement of the sticker until the final render - one of the issues I had was that the stickers can seem to sit slightly proud of the brick, but this only really becomes apparent once you render the final images.